
How to Master Chocolate Crinkle Cookies:
Table of Contents
Introduction: The Joy of Baking Chocolate Crinkle Cookies
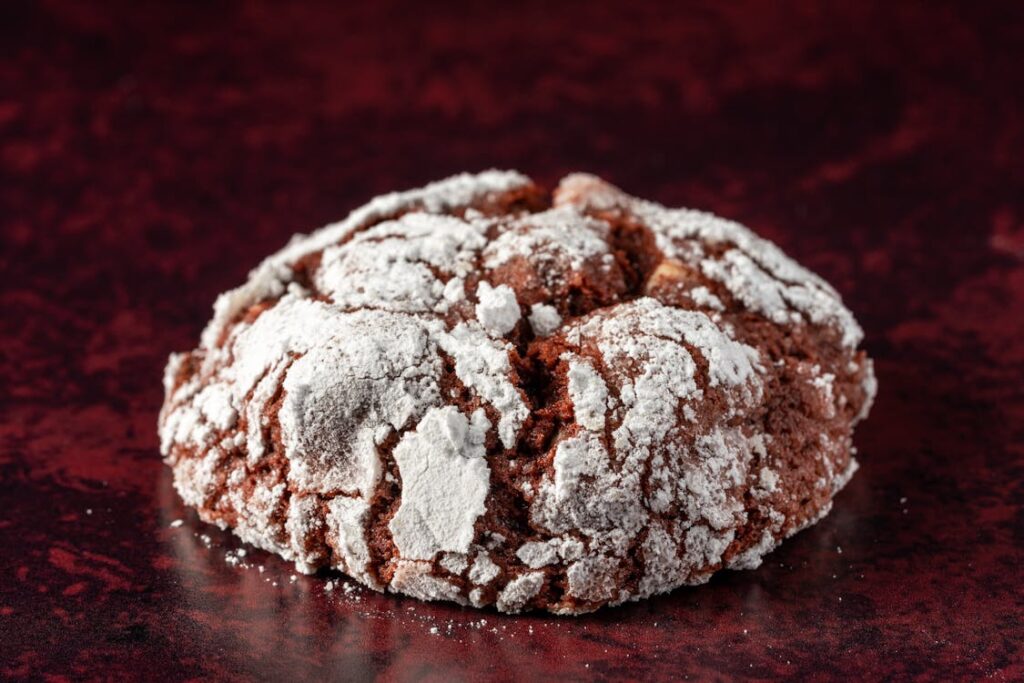
There’s something magical about Chocolate Crinkle Cookies. Their crackled surface dusted with powdered sugar is a sight to behold, while their soft, fudgy centers promise pure bliss with every bite. Whether you’re a seasoned baker or just starting out, these cookies offer a perfect combination of simplicity and indulgence. Let’s dive into what makes them special and how you can whip up a batch effortlessly.
What Are Chocolate Crinkle Cookies?
H2: A Delicious Definition
Chocolate Crinkle Cookies are a classic treat known for their rich chocolate flavor and distinctive crinkled appearance. These cookies are:
- Crispy on the outside with a soft, gooey interior.
- Made with basic pantry staples like cocoa powder, sugar, and flour.
- Perfect for any occasion, from holiday gatherings to everyday snacking.
H3: History and Popularity
- Originating in the U.S., Chocolate Crinkle Cookies became a holiday staple in the mid-20th century.
- Loved worldwide for their unique look and easy preparation.
Ingredients: What You’ll Need
H2: The Simple Pantry Staples
Here’s what you’ll need to make these delectable cookies. Use the table below for easy reference.
| Ingredient | Quantity | Notes |
|---|---|---|
| All-purpose flour | 1 cup | Sifted for best texture |
| Cocoa powder | ½ cup | Unsweetened |
| Granulated sugar | 1 cup | |
| Baking powder | 1 tsp | Ensures puffiness |
| Salt | ½ tsp | Balances the sweetness |
| Eggs | 2 large | Room temperature |
| Vegetable oil | ¼ cup | Neutral flavor |
| Vanilla extract | 1 tsp | Enhances flavor |
| Powdered sugar | ½ cup | For rolling the dough |
Step-by-Step Instructions
H2: How to Make Chocolate Crinkle Cookies
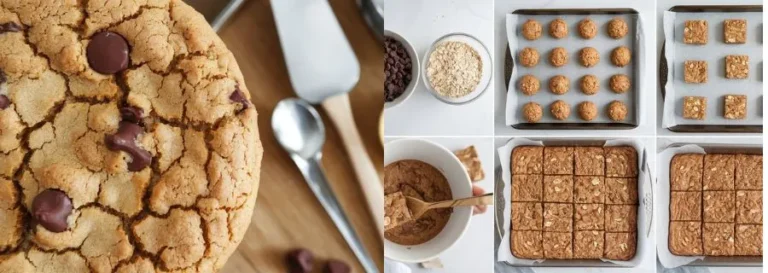
H3: 1. Prepare the Dough
- In a mixing bowl, combine cocoa powder, granulated sugar, and vegetable oil.
- Beat in eggs one at a time until fully incorporated.
- Stir in vanilla extract.
- In a separate bowl, whisk together flour, baking powder, and salt.
- Gradually mix dry ingredients into the wet mixture to form a dough.
- Cover and refrigerate for at least 2 hours (or overnight) to firm up.
H3: 2. Shape and Roll
- Preheat the oven to 350°F (175°C) and line baking sheets with parchment paper.
- Scoop chilled dough into 1-inch balls.
- Roll each ball in powdered sugar until fully coated.
H3: 3. Bake to Perfection
- Place the coated dough balls 2 inches apart on the prepared baking sheets.
- Bake for 10-12 minutes. Cookies should have crinkled tops and be slightly underbaked for a fudgy texture.
- Allow to cool on the baking sheet for 5 minutes before transferring to a wire rack.
Tips and Tricks for Perfect Crinkle Cookies
H2: Expert Baking Advice
- Chill the Dough: Cold dough ensures well-defined cracks and prevents spreading.
- Generous Coating: Roll cookies heavily in powdered sugar for a dramatic crinkle effect.
- Don’t Overbake: Slightly underbaking keeps the centers soft and fudgy.
Variations to Try
H2: Creative Twists on the Classic Recipe
- Peppermint Crinkle Cookies: Add ½ tsp of peppermint extract to the dough.
- Spiced Crinkle Cookies: Mix in ½ tsp of cinnamon and a pinch of cayenne for a warming kick.
- Double Chocolate Crinkle Cookies: Fold in ½ cup of chocolate chips for extra indulgence.
FAQ: Common Questions About Chocolate Crinkle Cookies
H2: Your Questions Answered
H3: 1. Why did my cookies not crackle?
This can happen if the dough wasn’t chilled long enough or if the baking powder is old.
H3: 2. Can I freeze the dough?
Yes! Roll the dough into balls and freeze on a baking sheet. Once frozen, transfer to a zip-top bag and store for up to 3 months. Roll in powdered sugar before baking.
H3: 3. How do I store Chocolate Crinkle Cookies?
Keep them in an airtight container at room temperature for up to 5 days, or freeze for longer storage.
Conclusion: Why You Should Bake These Cookies Today
Chocolate Crinkle Cookies are more than just a dessert; they’re a way to spread joy and create memories. With their simple ingredients, easy steps, and irresistible flavor, they’re a must-try for bakers of all skill levels. So grab your mixing bowl and start baking – your taste buds will thank you!